

Installing an adjustable shower grab bar is a crucial step in enhancing bathroom safety, especially for the elderly or those with limited mobility. As a reputable supplier of adjustable shower grab bars, I understand the importance of having the right tools for a successful installation. In this blog post, I'll walk you through the essential tools you need to install an adjustable shower grab bar, ensuring a secure and stable addition to your bathroom.
Measuring Tools
Accurate measurements are the foundation of a proper installation. You'll need the following measuring tools:
- Tape Measure: A reliable tape measure is essential for determining the correct placement and length of the grab bar. Measure the distance between the wall studs to ensure the grab bar is installed securely. Aim for a length that provides ample support and is suitable for your specific needs.
- Level: A level helps you ensure that the grab bar is installed straight and level. This is important not only for aesthetics but also for functionality. An uneven grab bar can be uncomfortable to use and may not provide the necessary support. Place the level on the grab bar during installation to make sure it's perfectly horizontal.
Marking Tools
Once you've taken your measurements, you'll need to mark the wall for drilling. Here are the marking tools you'll need:
- Pencil or Marker: Use a pencil or marker to mark the exact location where you'll be drilling the holes for the grab bar. Make sure your marks are clear and visible. You can use the measuring tape and level to guide you in making accurate marks.
- Stud Finder: A stud finder is a valuable tool for locating the wall studs. Grab bars should be installed into wall studs for maximum support. Run the stud finder along the wall to identify the studs, and mark their locations with a pencil. This will help you determine the best placement for the grab bar and ensure it's securely attached.
Drilling Tools
Drilling the holes for the grab bar is a critical step in the installation process. You'll need the following drilling tools:
- Drill: A power drill is necessary for making the holes in the wall. Choose a drill that's suitable for the type of wall material you're working with. For example, if you have a tile wall, you'll need a drill with a tile bit. Make sure the drill has enough power to penetrate the wall material without causing damage.
- Drill Bits: You'll need drill bits that are the appropriate size for the screws or anchors you'll be using. The size of the drill bit will depend on the type of grab bar and the wall material. Refer to the manufacturer's instructions for the recommended drill bit size. For example, if you're using a plastic anchor, you'll need a drill bit that's slightly smaller than the anchor.
- Hammer Drill (Optional): If you're working with a concrete or masonry wall, a hammer drill may be necessary. A hammer drill provides additional force to break through the hard material. It's a more powerful tool than a regular drill and can make the drilling process much easier.
Fastening Tools
Once the holes are drilled, you'll need to fasten the grab bar to the wall. Here are the fastening tools you'll need:
- Screwdriver: A screwdriver is used to insert the screws that hold the grab bar in place. Choose a screwdriver that fits the type of screws you're using. For example, if you have Phillips head screws, use a Phillips head screwdriver. Make sure the screwdriver is the right size to avoid stripping the screws.
- Anchors (if needed): If you're not installing the grab bar into wall studs, you'll need to use anchors to provide additional support. There are different types of anchors available, such as plastic anchors, toggle bolts, and expansion anchors. Choose the type of anchor that's suitable for your wall material and the weight capacity of the grab bar. Follow the manufacturer's instructions for installing the anchors.
- Wrench (if needed): Some grab bars may require the use of a wrench to tighten the nuts or bolts. Make sure you have the appropriate size wrench on hand. A socket wrench is often a good choice as it provides a better grip and can make the tightening process easier.
Additional Tools
In addition to the above tools, there are a few other tools that may come in handy during the installation process:
- Safety Glasses and Gloves: Safety should always be a top priority when working with power tools. Wear safety glasses to protect your eyes from debris and gloves to protect your hands. This will help prevent injuries during the installation process.
- Utility Knife: A utility knife can be used to cut any excess material or to clean up the edges of the holes. It's a versatile tool that can come in handy for various tasks during the installation.
- Allen Wrench (if needed): Some grab bars may require an Allen wrench for assembly or adjustment. Check the manufacturer's instructions to see if you'll need an Allen wrench. Make sure you have the correct size Allen wrench on hand.
Considerations for Different Wall Materials
The type of wall material you're working with will affect the installation process and the tools you'll need. Here are some considerations for different wall materials:
- Drywall: Drywall is a common wall material in many bathrooms. When installing a grab bar on drywall, it's important to use anchors for additional support. Plastic anchors are often a good choice for drywall. Make sure to drill the holes slightly smaller than the anchors to ensure a tight fit.
- Tile: Tile walls require special care during installation. Use a drill with a tile bit to avoid cracking the tiles. Start by drilling a small pilot hole at a low speed, and then gradually increase the speed as you drill deeper. You may also need to use a tile spacer to protect the surrounding tiles.
- Concrete or Masonry: Concrete and masonry walls are more challenging to work with. A hammer drill is usually necessary for drilling into these materials. Make sure you have the appropriate drill bits for concrete or masonry. You may also need to use expansion anchors or toggle bolts for maximum support.
Other Bathroom Assistive Devices
In addition to adjustable shower grab bars, there are other bathroom assistive devices that can enhance safety and accessibility. Here are some related products you may be interested in:
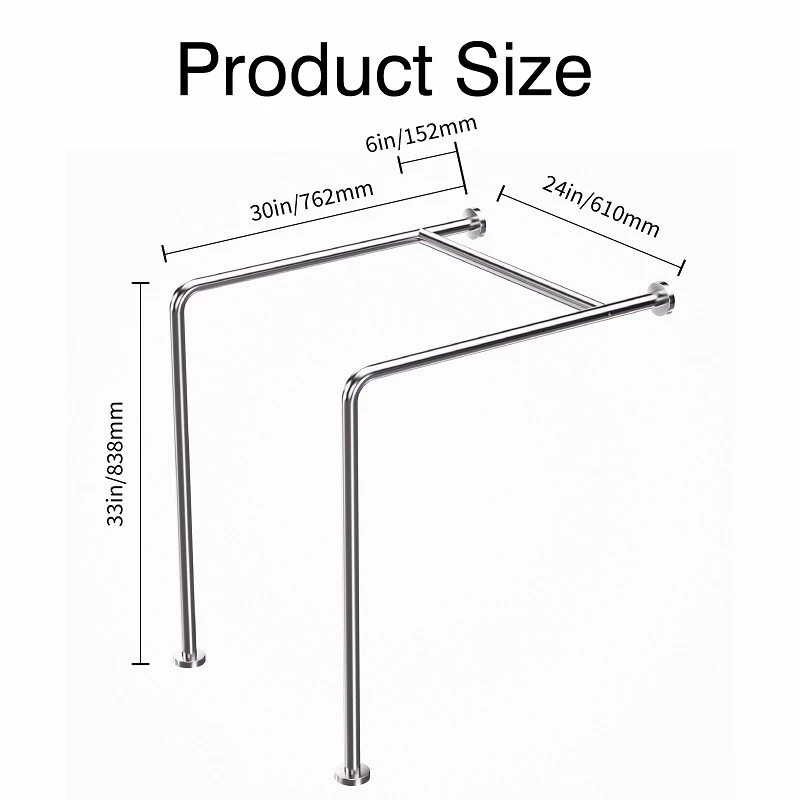
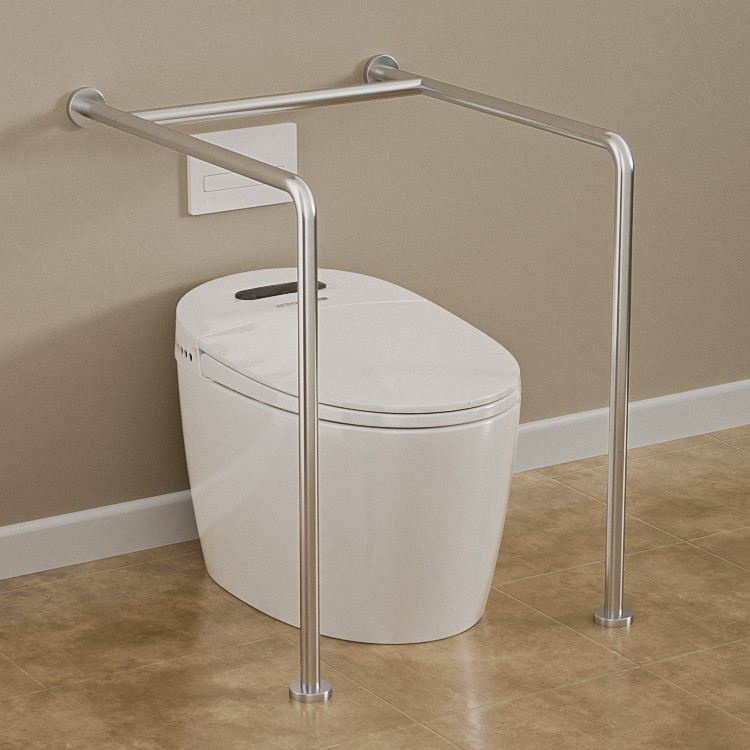
- Seniors Stainless Steel Toilet Handrails: These handrails provide support when sitting down or standing up from the toilet. They're made of stainless steel for durability and are available in various styles and sizes.
- Wall-Mounted Safety Grab Bars: Wall-mounted grab bars can be installed in different locations around the bathroom, such as near the bathtub or sink. They offer additional support and stability for users.
- Safety Toilet Support Handle: A safety toilet support handle can be attached to the side of the toilet to provide extra support. It's a convenient and easy-to-install solution for those who need assistance getting on and off the toilet.
Conclusion
Installing an adjustable shower grab bar is a relatively straightforward process, but it's important to have the right tools and follow the manufacturer's instructions. By using the tools outlined in this blog post, you can ensure a secure and stable installation that provides the necessary support and safety. If you have any questions or need further assistance with your adjustable shower grab bar installation, don't hesitate to contact us. We're here to help you make your bathroom a safer and more accessible place. As a trusted supplier of adjustable shower grab bars, we offer a wide range of products to meet your needs. Whether you're looking for a simple grab bar or a more advanced adjustable model, we have the right solution for you. Contact us today to discuss your requirements and explore our product options. We look forward to working with you to enhance the safety and accessibility of your bathroom.
References
- Manufacturer's instructions for adjustable shower grab bars
- Home improvement and DIY guides