

Hey there! As a supplier of anti - slip grab bars, I've seen firsthand how these simple yet crucial devices can transform the safety and convenience of a bathroom or other spaces. In this blog, I'm gonna walk you through the installation process for anti - slip grab bars, so you can get them up and running safely and effectively.
Pre - installation Preparation
Before you start screwing things in, you need to do a bit of groundwork. First off, figure out where you want to install the grab bars. Common spots include next to the toilet, in the shower, or along the bathtub. For example, if you're installing for an elderly person, Shower Grab Bars for Elderly are often a must - have in the shower to prevent slips and falls.
Measure the area where you plan to put the grab bars. You want to make sure there's enough space for the bar and that it's at a comfortable height for the user. Generally, grab bars near the toilet should be around 33 to 36 inches from the floor, and in the shower, they can be placed at different heights depending on the user's needs.
Next, gather all the tools you'll need. This usually includes a drill, drill bits, a level, a screwdriver, and a stud finder. The stud finder is super important because you want to attach the grab bars to the wall studs for maximum support. If you can't find a stud, you'll need to use wall anchors, which are designed to hold the weight of the grab bar and the person using it.
Types of Anti - Slip Grab Bars
There are different types of anti - slip grab bars available, and the installation process can vary a bit depending on the type.
-
Adhesive - Mounted Grab Bars: These are the easiest to install. They come with a strong adhesive on the back. First, clean the wall surface where you're going to attach the bar. Make sure it's dry and free of any dirt or grease. Then, peel off the backing of the adhesive and press the bar firmly against the wall. Hold it in place for a few minutes to let the adhesive set. However, these bars are usually not as strong as the ones that are screw - mounted and are better for light - use areas.
-
Screw - Mounted Grab Bars: This is the most common type. Once you've located the studs using the stud finder, mark the spots on the wall where you'll drill the holes. Use a drill bit that's the right size for the screws that come with the grab bar. Drill the holes into the studs, then insert the screws through the holes in the grab bar and tighten them with a screwdriver. If you're using wall anchors because you couldn't find a stud, drill a hole in the wall, insert the anchor, and then screw the grab bar into the anchor.
-
L - Shaped Grab Bars: L - Shaped Toilet Handicap Grab Bars are great for providing support in multiple directions. The installation process is similar to regular screw - mounted bars, but you need to make sure the angle of the L - shape is correct. Use a level to ensure the bar is straight and at the right angle.
Step - by - Step Installation
Let's go through the step - by - step process for installing a screw - mounted grab bar, which is the most secure option.
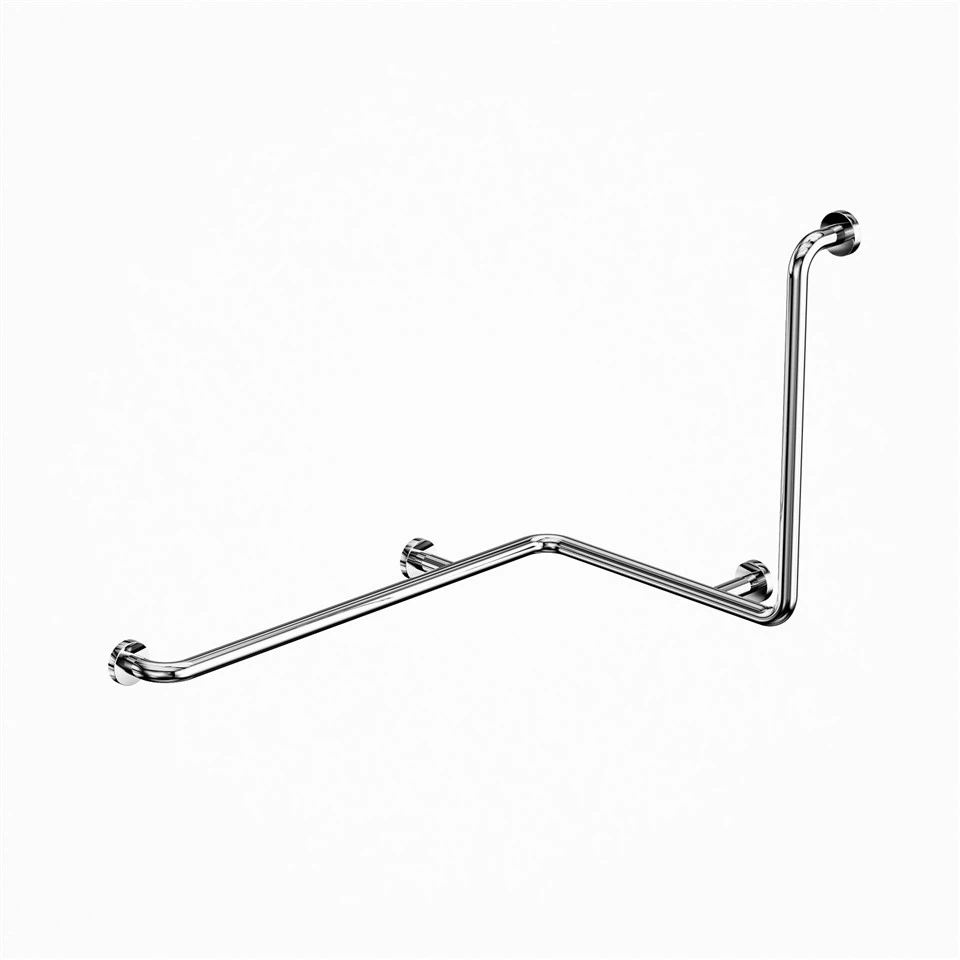

- Mark the Holes: Use the grab bar as a template. Place it against the wall at the desired height and position, and mark the holes on the wall using a pencil. Make sure the bar is level using a level. You don't want a crooked grab bar, as it won't be as effective and looks pretty bad too.
- Drill the Holes: Once you've marked the holes, use the drill and the appropriate drill bit to create the holes in the wall. If you're drilling into a stud, be careful not to drill too deep. If you're using wall anchors, drill a hole that's slightly smaller than the anchor.
- Insert Wall Anchors (if needed): If you couldn't find a stud, insert the wall anchors into the holes. You can usually tap them in with a hammer or use a screwdriver to screw them in.
- Attach the Grab Bar: Place the grab bar over the holes and insert the screws. Tighten the screws with a screwdriver. Make sure the bar is firmly attached and doesn't wiggle. You can give it a little tug to test its stability.
Testing the Grab Bar
After you've installed the grab bar, it's crucial to test it. Apply some pressure to the bar to make sure it can support the weight of a person. If it feels loose or wobbly, you may need to tighten the screws or check the wall anchors. You don't want the bar to come off when someone is relying on it for support.
Additional Tips
- If you're installing multiple grab bars in the same area, make sure they're all at the same height and level. This will give a more professional look and make them more user - friendly.
- Consider the finish of the grab bar. You want it to match the decor of the bathroom. There are different finishes available, such as chrome, satin nickel, and white.
- Safety Toilet Support Handle can be a great addition near the toilet for extra support. The installation process is similar to other grab bars, but make sure it's positioned in a way that it doesn't interfere with the toilet lid or the user's movement.
Conclusion
Installing anti - slip grab bars is a relatively straightforward process if you follow the steps carefully. By taking the time to prepare, choose the right type of grab bar, and install it correctly, you can significantly improve the safety of your bathroom or other areas.
If you're in the market for high - quality anti - slip grab bars, we've got you covered. We offer a wide range of grab bars in different styles, sizes, and finishes to meet your needs. Whether you need a simple straight bar or an L - shaped one, we have the perfect solution for you. Contact us to discuss your requirements and start the procurement process. We're here to help you make your space safer and more accessible.
References
- Home Improvement Guides from local hardware stores
- Manufacturer's installation instructions for anti - slip grab bars