

Ensuring the straightness of a reinforced grab bar during installation is crucial for its functionality, safety, and aesthetic appeal. As a well - established supplier of high - quality Reinforced Grab Bars, I understand the importance of this process and am here to share some in - depth insights on how to guarantee that your grab bars are installed perfectly straight.
Understanding the Importance of a Straight Grab Bar
Before delving into the installation process, it's essential to understand why a straight grab bar is so vital. A straight grab bar distributes weight evenly along its length. When a person uses the grab bar for support, an unevenly installed bar can cause stress concentrations on certain parts, leading to premature wear and potentially a failure of the bar over time.
From a safety perspective, a crooked grab bar can be a tripping or falling hazard. It can also give users a false sense of security, which may result in accidents. Aesthetics also play a role, especially in settings where the grab bar is visible. A straight grab bar enhances the overall look of the bathroom or any area where it is installed, creating a clean and professional appearance.
Pre - installation Preparation
Selecting the Right Location
The first step in ensuring a straight grab bar installation is to choose the right location. This involves considering the user's needs and the layout of the space. For example, in a bathroom, grab bars near the toilet should be installed at a height and distance that is comfortable for the user to reach. The same goes for grab bars in the shower.
When marking the location, use a level to ensure that the horizontal and vertical references are accurate. A laser level can be particularly useful in large or complex spaces, as it provides a clear and precise reference line.
Gathering the Necessary Tools
To install a grab bar straight, you'll need the right tools. These include a tape measure, a level (either a traditional bubble level or a digital level), a drill, appropriate drill bits for the wall material, and the necessary mounting hardware. Make sure all tools are in good working condition and calibrated correctly.
Measuring Twice
Accurate measurements are the foundation of a straight installation. Measure the distance between the mounting points on the grab bar and transfer these measurements to the wall. Use a pencil or a marker to make clear and precise marks. Double - check all measurements before proceeding to the next step.
Installation Process
Mounting the Brackets
The brackets are the key to a straight grab bar installation. Start by attaching one bracket to the wall at the marked location. Use the level to ensure that the bracket is perfectly horizontal or vertical, depending on the orientation of the grab bar. Once the first bracket is level, drill the holes and secure it with the appropriate screws.
For the second bracket, use a straightedge or a piece of string to align it with the first bracket. Make sure the distance between the brackets is consistent with the measurement on the grab bar. Again, use the level to ensure it is straight before drilling holes and securing it to the wall.
Attaching the Grab Bar
After the brackets are securely mounted, it's time to attach the grab bar. Carefully place the grab bar into the brackets, ensuring that it fits snugly. Check once more with the level to confirm that the grab bar is straight. If there are any minor adjustments needed, loosen the screws slightly and make the necessary corrections before tightening them fully.
Common Challenges and Solutions
Uneven Walls
Uneven walls can pose a significant challenge when trying to install a straight grab bar. In some cases, you may need to use shims to adjust the brackets and ensure a level installation. Shims are thin pieces of material that can be placed behind the brackets to compensate for wall irregularities.
Wall Material Variations
Different wall materials require different installation techniques. For example, installing a grab bar in drywall may require the use of wall anchors to provide additional support. In tile walls, you'll need to use a tile bit to drill through the tiles without cracking them. Make sure to research the best practices for your specific wall material before starting the installation.
Quality Control After Installation
Once the grab bar is installed, it's important to perform a final quality check. Apply a gentle but firm pressure to the grab bar at different points along its length to ensure that it is securely attached and remains straight. If you notice any movement or unevenness, make the necessary adjustments immediately.

Our Product Range
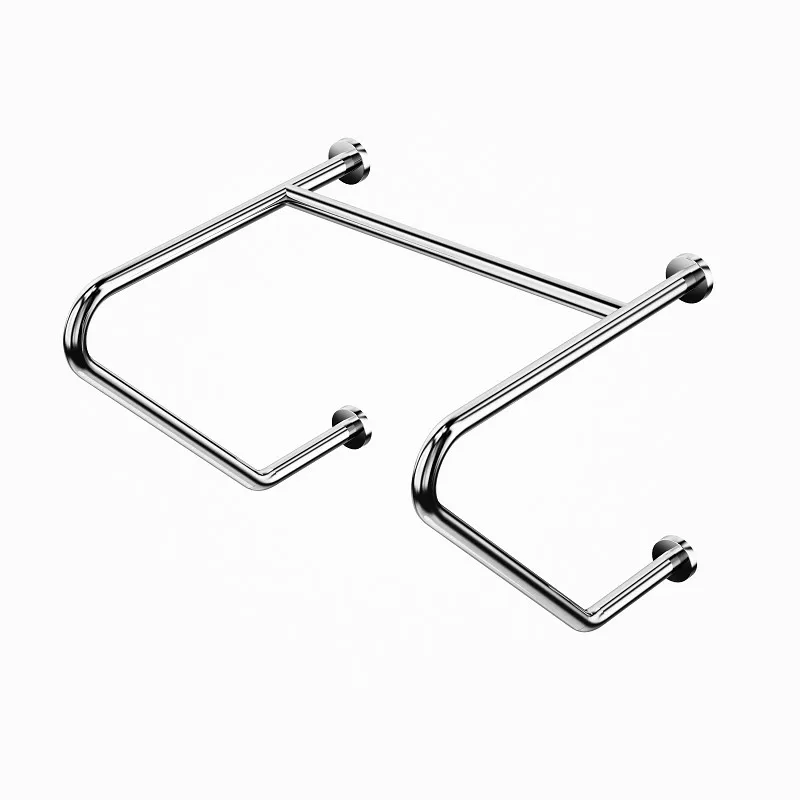
As a leading supplier of Reinforced Grab Bars, we offer a wide range of products to meet different needs and preferences. Our Seniors Stainless Steel Toilet Handrails are designed with the elderly in mind, providing a sturdy and reliable support. The Barrier - Free Toilet Handicap Grab Bars are ideal for people with disabilities, offering a high - level of accessibility. And our Shower Grab Bars for Elderly are specifically engineered to withstand the wet and slippery conditions in the shower.
Conclusion
Ensuring the straightness of a reinforced grab bar during installation is a multi - step process that requires careful planning, accurate measurements, and the right tools. By following the steps outlined in this blog, you can install a grab bar that is not only straight but also safe and functional.
If you are interested in our products or have any questions about installation, feel free to reach out. We are here to assist you in making the right choice for your needs and ensuring a successful installation. Our team of experts can provide you with detailed information and guidance on choosing the best grab bars and installing them correctly.
References
- Bathroom Safety Guidelines. US Department of Health and Human Services.
- Grab Bar Installation Manuals. Various manufacturers.
- Building Codes Related to Accessible Bathroom Fixtures. Local building authorities.