

Installing a handicap safety grab bar on a concrete wall is a crucial task that can significantly enhance the safety and independence of individuals with mobility challenges. As a supplier of high - quality handicap safety grab bars, I've witnessed firsthand the positive impact these bars can have on people's lives. In this blog, I'll guide you through the step - by - step process of installing a grab bar on a concrete wall.
Step 1: Gather the Necessary Tools and Materials
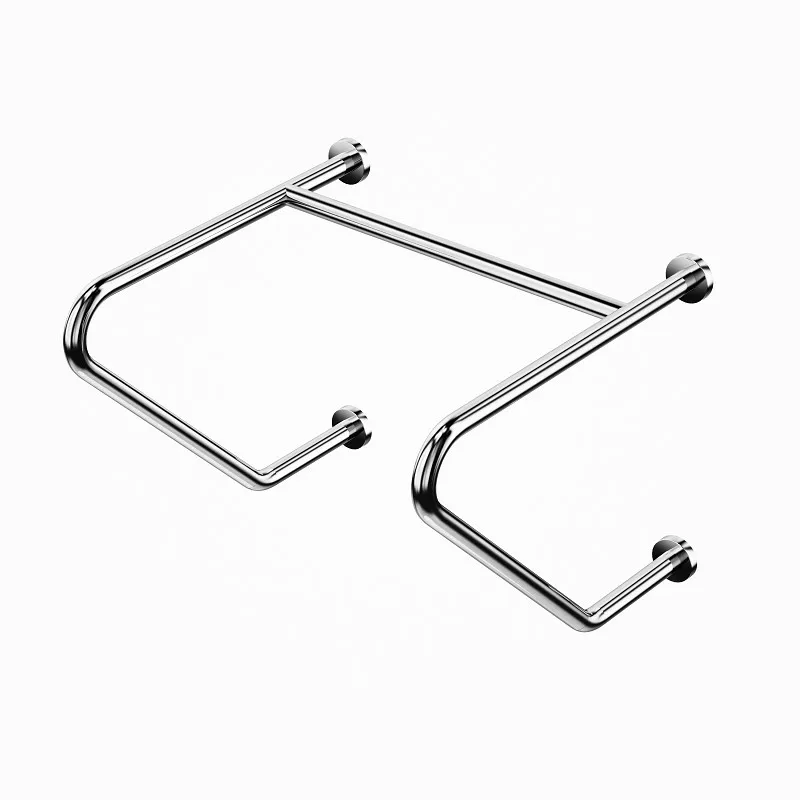
Before you start the installation process, it's essential to have all the tools and materials at hand. You'll need a handicap safety grab bar, which comes in various styles and sizes. For example, you can explore our Barrier - Free Toilet Handicap Grab Bars, 135° Wall - Mounted Bathtub Grab Bars, and Seniors Stainless Steel Toilet Handrails to find the perfect fit for your needs.
In addition to the grab bar, you'll require a drill with a masonry bit, a hammer drill if available, a level, a tape measure, a pencil, wall anchors suitable for concrete (such as sleeve anchors or wedge anchors), a wrench or socket set, and safety equipment like safety glasses and gloves.
Step 2: Choose the Right Location
Selecting the appropriate location for the grab bar is vital. It should be placed where it will provide the most support and stability for the user. In a bathroom, common locations include next to the toilet, in the bathtub, or near the shower.
- Next to the toilet: Install the grab bar on the side of the toilet where the user will need the most assistance getting up and sitting down. It should be placed at a comfortable height, typically between 33 and 36 inches from the floor.
- In the bathtub or shower: Place the grab bar on the wall where the user can hold onto it while entering, exiting, or standing in the tub or shower. Consider the user's reach and the layout of the bathroom when determining the height and position.
Use a tape measure and a level to mark the location on the concrete wall. Make sure the marks are straight and at the correct height. Double - check the measurements to ensure accuracy.
Step 3: Drill the Holes
Once you've marked the location, it's time to drill the holes in the concrete wall. Put on your safety glasses and gloves to protect yourself from flying debris.
If you have a hammer drill, it will make the drilling process much easier. Set the drill to the hammer mode and use a masonry bit that is the same size as the wall anchors you'll be using. Start drilling at the marked locations, applying gentle pressure and letting the drill do the work. Drill the holes to the appropriate depth, which is usually specified by the wall anchor manufacturer.
If you don't have a hammer drill, you can still use a regular drill, but it will take more effort. Drill slowly and steadily, and be prepared for the process to take longer.
Step 4: Insert the Wall Anchors
After drilling the holes, clean them out with a brush or compressed air to remove any dust or debris. This will ensure a secure fit for the wall anchors.
Insert the wall anchors into the holes. For sleeve anchors, tap them into the holes with a hammer until they are flush with the wall. For wedge anchors, insert them into the holes and then use a wrench or socket set to tighten the nut on the anchor until it expands and grips the concrete.
Step 5: Attach the Grab Bar
Once the wall anchors are in place, it's time to attach the grab bar. Align the mounting holes on the grab bar with the wall anchors. Insert the screws through the mounting holes and into the wall anchors. Use a wrench or socket set to tighten the screws securely.
Make sure the grab bar is level and firmly attached to the wall. Give it a gentle tug to test its stability. If it feels loose, check the screws and wall anchors to ensure they are tightened properly.
Step 6: Test the Grab Bar
After installing the grab bar, it's important to test it to make sure it can support the weight of the user. Have the user hold onto the grab bar and apply some pressure. The grab bar should not move or come loose.
If the grab bar fails the test, remove it and check the installation. Make sure the holes were drilled to the correct depth, the wall anchors are properly installed, and the screws are tightened securely.

Tips for a Successful Installation
- Read the instructions: Before starting the installation, carefully read the instructions that come with the grab bar and the wall anchors. Each product may have specific installation requirements.
- Use the right tools: Using the correct tools will make the installation process easier and more successful. Invest in quality tools and make sure they are in good working condition.
- Take your time: Installing a grab bar on a concrete wall is a precise task. Don't rush the process. Double - check your measurements and take the time to drill the holes accurately.
- Seek professional help if needed: If you're not confident in your ability to install the grab bar, or if the installation seems too complicated, consider hiring a professional installer. They have the experience and expertise to ensure a safe and secure installation.
Conclusion
Installing a handicap safety grab bar on a concrete wall is a relatively straightforward process if you follow the right steps. By choosing the right location, using the proper tools and materials, and taking your time, you can provide a safe and supportive environment for individuals with mobility challenges.
As a supplier of handicap safety grab bars, we are committed to providing high - quality products and excellent customer service. If you have any questions about our products or need assistance with the installation process, please don't hesitate to contact us. We'd be happy to help you find the perfect grab bar for your needs and ensure a successful installation.
Whether you're looking for a grab bar for a toilet, bathtub, or shower, our Barrier - Free Toilet Handicap Grab Bars, 135° Wall - Mounted Bathtub Grab Bars, and Seniors Stainless Steel Toilet Handrails offer a wide range of options to choose from. Contact us today to start the procurement process and make your bathroom a safer place.
References
- "Installation Guide for Handicap Safety Grab Bars," Manufacturer's Manual.
- "Concrete Drilling and Anchoring," Construction Handbook.